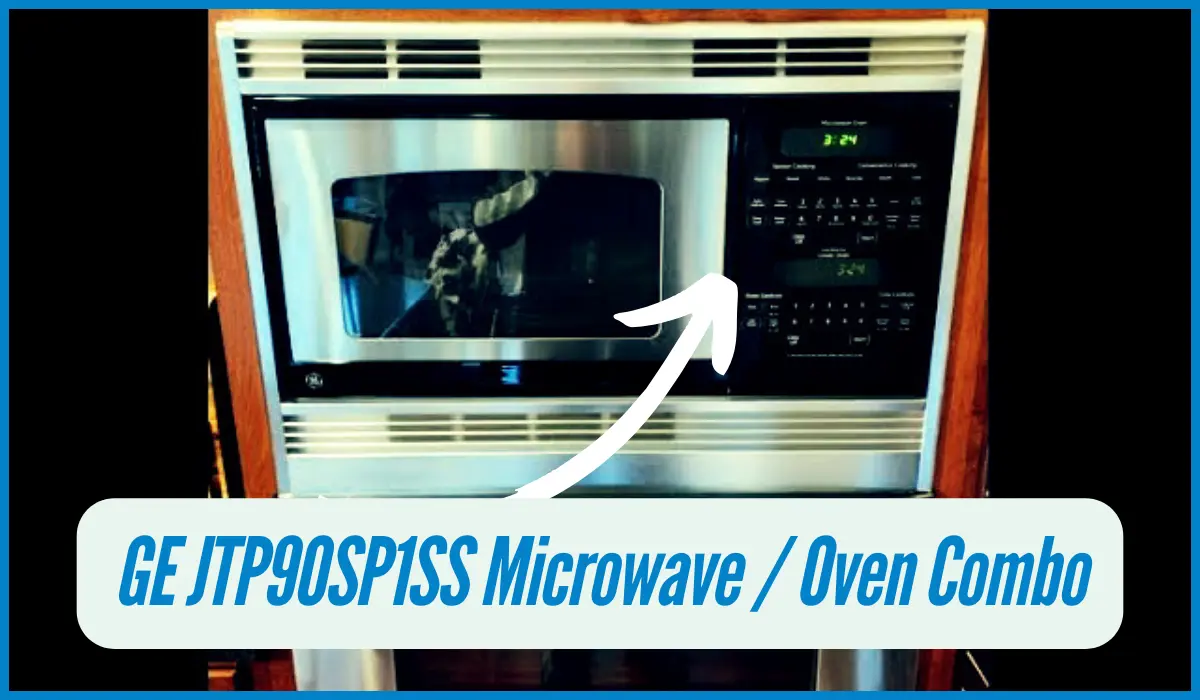
In January 2025, I helped a local resident of nearby Slatterly park tackle a frustrating issue with their older GE JTP90SP1SS Microwave / Oven Combo. After an unusually high usage one night, the microwave overheated and blew its fuse. After replacing the fuse, the microwave still wouldn’t heat food, although it ran normally. The fuse blew again when the microwave was used to heat water. They called me at company number +1 (507) 322-7341, sharing their concern. The transformer and capacitor were replaced, but the microwave still didn’t work properly. The customer was getting frustrated, so I decided to take a closer look and work through a systematic troubleshooting process.
Call Now for Emergency Appliance Repair In Slatterly Park Available!

Step 1: Checked the Fuse and Transformer
The fuse and transformer are essential components in microwaves. The customer had already replaced the fuse, but after testing, it became clear that the issue was more than just a blown fuse. My technician team had suggested replacing the transformer and capacitor, which seemed like a logical step. However, after these parts were replaced, the microwave was still running, but it wasn’t heating.
Step 2: Inspect the Magnetron and Diode
With the transformer and capacitor replaced, I moved on to the next logical suspects: the magnetron and diode. These parts are responsible for generating and directing heat. The customer had already replaced both, but there was still no heating. This confirmed that the problem wasn’t with these parts either, so I turned my attention to the next possible issues.
Step 3: Check the Control Board and Thermal Fuse
The next step was to check the control board and thermal fuse. The microwave’s display showed a “RESET” message, which suggested a possible reset issue with the control board. I thoroughly examined the board for any visible damage or burn marks, but everything seemed to be in good condition. Next, I tested the thermal fuse, which was also functioning properly. At this point, I was running out of obvious solutions, so I needed to dig deeper.
Step 4: Look for a Short or Faulty Wiring
At this stage, I suspected that the issue could lie with the wiring or a possible short circuit somewhere in the microwave. A faulty wiring connection or short can prevent the microwave from reaching the necessary voltage to power the heating components. While this is often hard to detect without a full disassembly and a detailed inspection, I advised the customer to get a professional inspection of the wiring.
Final Diagnosis
After following these steps, I concluded that while the major components—fuse, transformer, capacitor, magnetron, diode, control board, and thermal fuse—were in working condition, there may still be an internal short or wiring issue causing the microwave to malfunction. If the microwave’s wiring or the control board itself is faulty, further repair would be needed, and it might be worth considering a replacement if the issue persists.
If you’re facing similar issues with your microwave or other appliances, don’t hesitate to search on google professional Appliance Repair Rochester Company near me and contact him . Sometimes the right troubleshooting steps can save you money and time, avoiding the need for a full replacement.
Read More: How I Fixed a Maytag Washer Not Filling Issue for a Stewartville, MN Resident
Advanced Tools Used in Troubleshooting the Microwave / Oven Combo
Tool | Purpose | Usage |
Multimeter | Measure electrical continuity and voltage. | Used to test components such as the transformer, magnetron, diode, and solenoid for electrical continuity and ensure they are working correctly. |
Insulation Resistance Tester | Test for shorts in wiring and insulation. | Used to check for any short circuits or faulty wiring that could be causing the microwave not to heat. |
Screwdriver Set | Used for disassembling microwave components. | Removed screws to open the microwave casing and access internal components like the magnetron, capacitor, and control board. |
Clamp Meter | Measure current flow to check if there is abnormal power draw. | Used to measure current flow through the microwave to verify proper power consumption, ensuring no abnormal power draw causing malfunctions. |
Thermal Camera | Detect heat patterns and identify overheating parts or wiring issues. | Used to check if any internal components were overheating during operation or if any parts were malfunctioning under stress. |
Digital Voltmeter | Measure voltage levels in key microwave components. | Checked voltage at various points such as the control board, transformer, and magnetron to verify that proper voltage was reaching these parts. |
Microwave Leakage Detector | Ensures there are no microwave radiation leaks. | Used for safety checks to confirm there were no microwave radiation leaks after replacing major components. |
Why Slatterly Park Homeowners Trust Us


